It is very common now that users have more than one monitor; even laptop users often dock a screen which gives them two screens. People even sometimes use tablets as second screens. All of these can use different resolutions.
Microsoft caught on to this trend and with successive versions of Windows 10 they introduced the “Per monitor v2” technology. This allowed users to have different DPI scaling for each monitor. Now, for example, users could have a laptop’s LCD panel showing at its native resolution and an additional external monitor displaying at perhaps a higher resolution of DPI. Note that this is not just the pixel width and height but the actual denseness of the pixels per inch.
If you dragged your legacy Delphi apps from one window to another you could see that change in pixel density. Things would look sharper or less sharp, scaled weird or, even worse, drew text in the wrong places because the coordinates were worked out on a machine running on and launching at 96DPI and was dragged over to a screen now running at 120DPI.
Prior to Delphi 10.3 this made our apps look bad. Not so now.
Rio to the rescue…
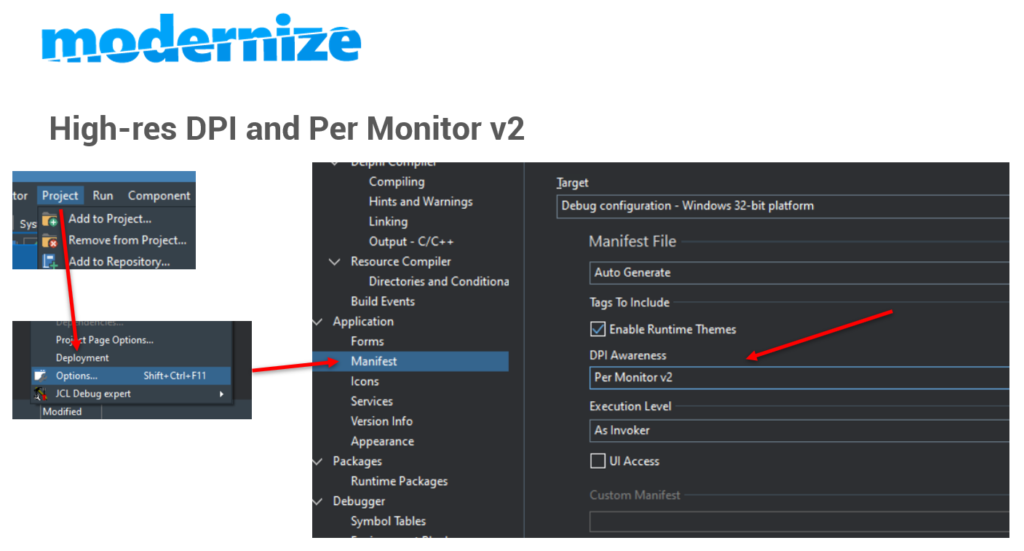
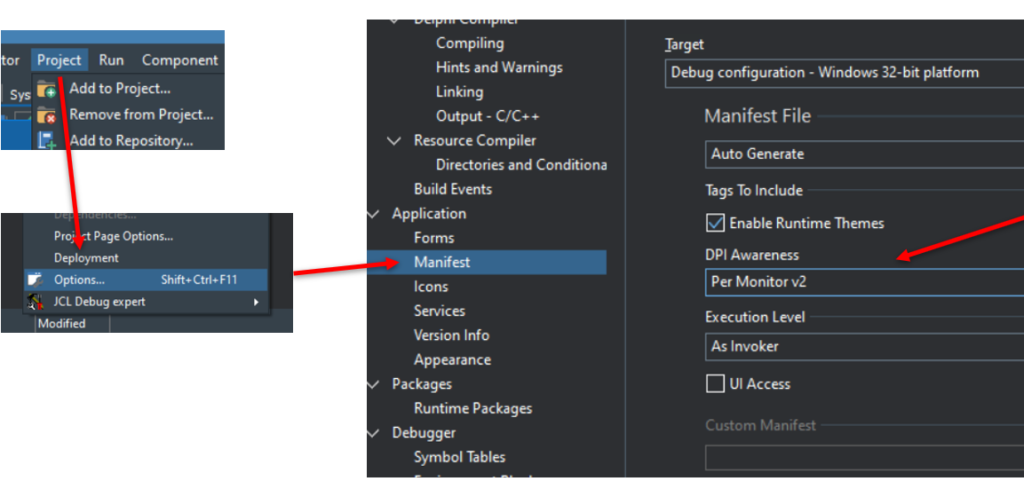
In Delphi 10.3 Rio there is now some settings found in the main menu by selecting project, options and then clicking on manifest. You can also press SHIFT + CTRL + F11 to get to the same place.

The red lines in the image above show you where to check. Under DPI awareness you should have Per monitor v2 selected. For new projects and those upgraded from legacy versions of Delphi you should find it’s already been chosen for you.

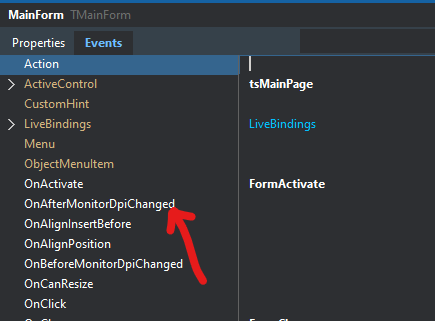
In addition to the Delphi runtime taking care of enabling Per Monitor v2 by notifying Windows that our app understands it there is also a new event which gets triggered on your forms if the screen’s DPI changes, perhaps due to them changing the Desktop resolution in the Windows preferences.
This event is OnAfterMonitorDpiChanged and it triggers just as your would expect.
Other options on the project options page
While we’re on the project options page, just above the setting for Per Monitor v2 you can see an option which says “Enable Runtime Themes“.
This setting needs to be checked for the themes to work (it’s checked by default). We’ll talk more about runtime Themes in a later blog post. This setting actually does a similar thing to the old TXPManifest component which has been around since the days of Delphi 7. It essentially includes extra information in the application’s manifest which tells it to render native controls in a particular way. I’d recommend you have it checked.
Execution level is another setting on the same page and is actually a pretty important feature too. It controls the user permission level at which the app runs – default is “as invoker” but you might not want that. This setting tells the Windows runtime what execution privileges you wish to run with. If you select “as invoker” then you inherit the rights of the shell or app which launched your app. So if the shell launching your app is very restricted your app will be restricted too. Conversely if the launching process is, for example, ‘administrator’ then you’ll inherit the rights which come with that. Sweet. The two other options are “Highest available” and “Administrator” which are fairly obvious – but both of these might need a normal mortal user to enter an administrator password or credentials before your app can run. In most cases you’re going to leave the setting at “as invoker”.
Next article – provisioning, Windows application store and code signing
In the next article I’m going to cover the new Delphi 10.3 Rio features which allow you to package your Windows apps for the Microsoft App store as well as a discussion about code-signing; what it is, how to do it and where to obtain a code-signing certificate.